Friday, August 24, 2012

Pancakes and Saturday Mornings...

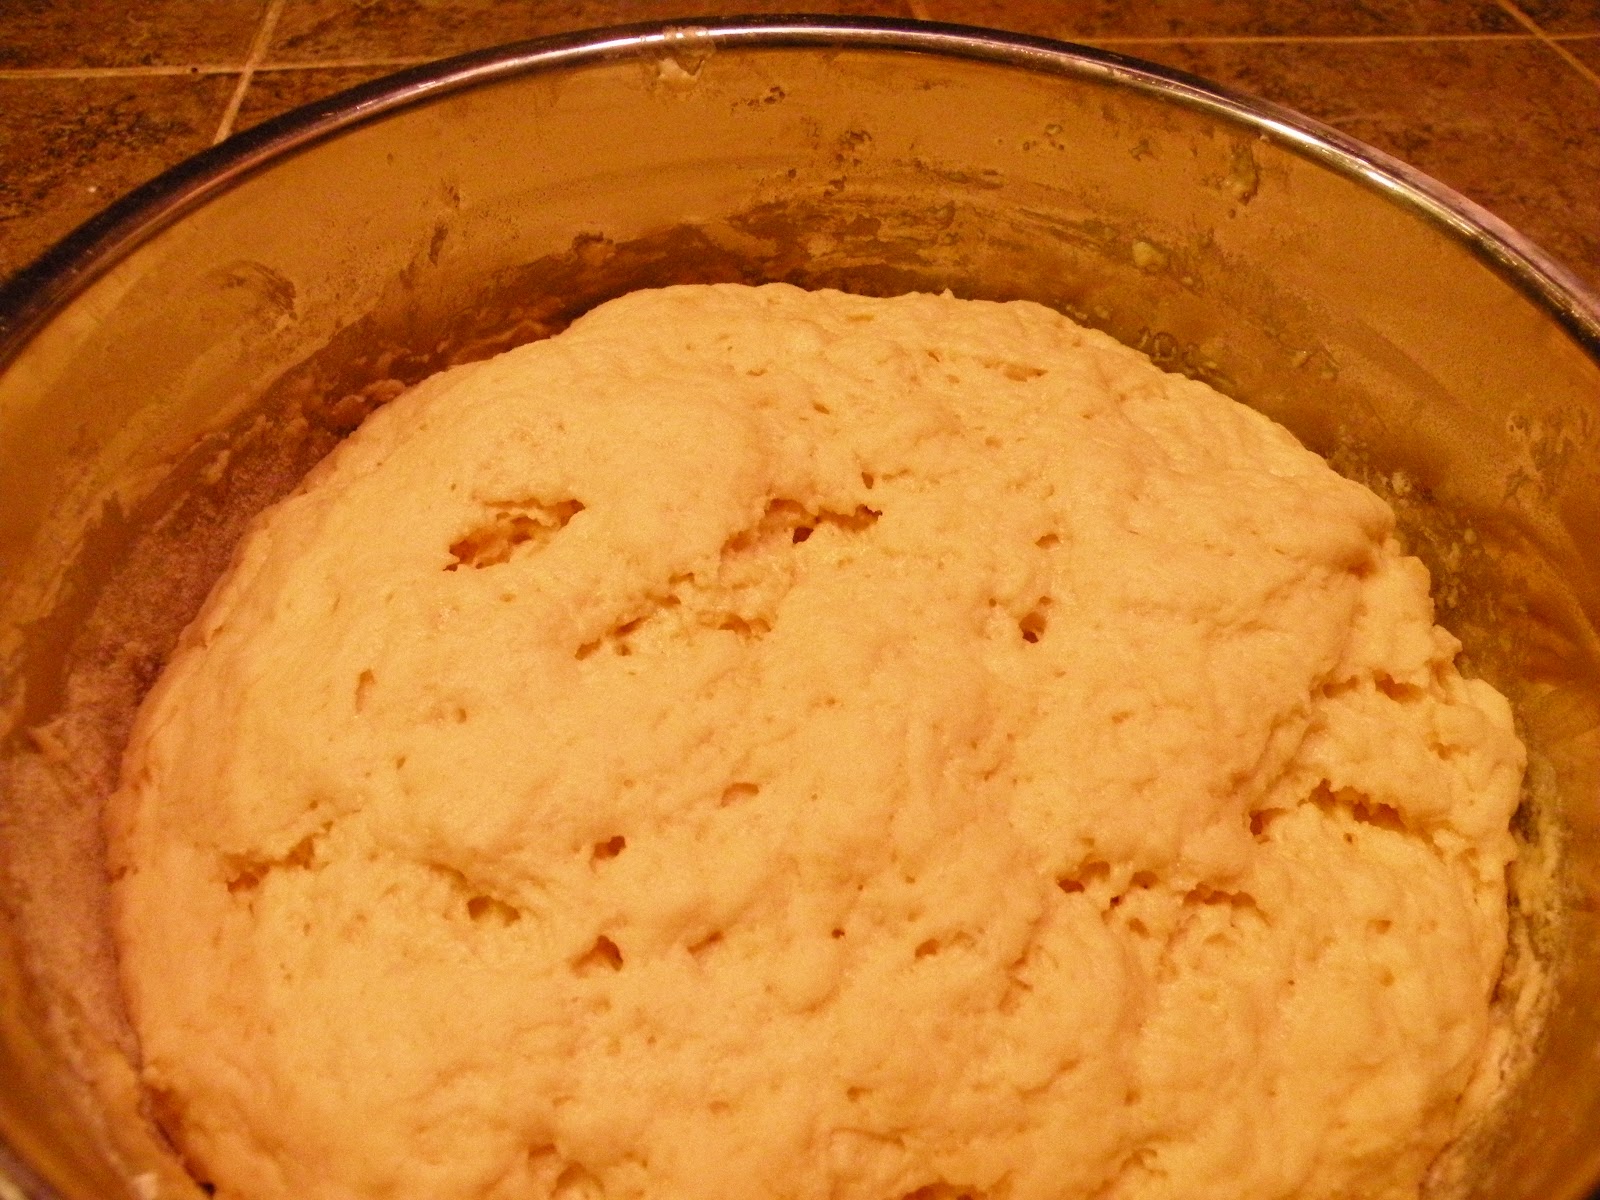
Just look at all those delightful bubbles that tell me it's time to flip! 


There are exactly three breakfast items that are absolute in our house. They are: Waffles, Biscuits, and Pancakes. Without fail, every Saturday morning, we will have waffles, biscuits or pancakes. If you look in my recipe binder, the first three recipes are: waffles, biscuits and pancakes.(P.S. How many times can I say that in one post...anyone?) It's a tradition that Micah and I started well over 7 years ago. When it was just the two of us, we would get up and go straight to a local place for breakfast. Then, kids came(one a year for three years!)and all the fun and sometimes, not so fun stuff that comes with it. So, we improvised. Breakfast at home. It has become so special to us and the kids. If we don't cook on a Saturday, the kids will let you  know you forgot. Even if it hits them on the way to church the next day. Trust me, they will not let you forget it. Ever! 


Saturday morning cartoons and pancakes with a side of bacon....Every kid and adults dream come true! 


It's so easy to make. Don't let "homemade" recipes scare you. Don't, just don't. Boldly plug in that griddle, grab your spatula and dare to make the best pancake ever. Do it. OK, I'm done being bossy...but just for a minute. Mine are not all perfectly uniform circles. They just aren't. They don't have to be. Trust me, no one will worry about how they look when they eat them. Unless, you're my {almost} 4 year old who told me they were funny looking and "weird". This was after he woke up and said," Hey, can you make me a cake?" Seriously?  Use a little butter{not margarine...for Pete's sake! Unless you have to, then fine do it!}, add a little syrup, or a lot if you prefer. Or if you want to be healthy, add some lightly sweetened whipped cream and berries.{ Do me a favor, will ya? Please splurge and buy heavy whipping cream, add a little confectioner sugar(a couple of tablespoons) and beat the mess out of it, in a stand mixer,  until it turns to whipped cream. You won't be angry at me. I promise.}  This is actually my new favorite way to eat waffles...but that's another post! So make you're own traditions. Get up and make breakfast. It's fun, cheaper than a restaurant, and so much better than cereal could ever be!


Pancakes( adapted from Food Network Kitchens)


2 cups All-Purpose Flour
3 Tablespoons sugar
1 Tablespoon baking powder
1/4 teaspoon salt
1/8 teaspoon nutmeg or cinnamon(optional){it gives it a wonderful, comforting taste whichever you use}
2 large eggs at room temperature
1 1/4 cups milk, at room temperature
1 teaspoon vanilla extract
3 Tablespoons unsalted butter, melted
1/2 to 1 stick of butter if you wish to butter the pancakes when they are hot and come right off the griddle


Directions:

 In a large bowl, whisk together the flour, sugar, baking powder, salt, and nutmeg/cinnamon.
In another bowl, beat the eggs and whisk in the milk and vanilla.
Melt butter in microwave about 30 seconds.(depending on your microwave)
Whisk the butter into the milk mixture. Add wet ingredients to dry ingredients. Put the whisk away and use a wooden spoon or spatula. Mix until a thick batter is just formed. {If it's too thick for you, you can add a little milk. If it's too thin, you can add a little more flour until the desired consistency.}
Set your griddle to 350 degrees or about medium heat, if you don't have a temperature dial.
You can either use butter to grease up your griddle or you can use a non-stick cooking spray. Either way, spray or spread the griddle with the oil/butter so your pretty pancakes don't stick!
Ladle a 1/4 cup of the batter on the griddle. I can usually put about 6 on my griddle. Let them cook until you see many bubbles form on the top. Take your spatula and flip it and cook about 1-2 minutes longer on the other side.(If you want it darker, cook longer. If you want it a little lighter cook closer to a minute.)
Take the homemade pancakes off the griddle, slather with butter.(or fruit and whipped cream) and serve warm with a side of bacon.(Turkey bacon works just fine.) 


Until next time, eat a pancake, (And I mean this in the most nicest way ever!),

JESSICA


Monday, March 19, 2012

Super Easy Lemon Pepper Chicken....

*Caution there are pictures of raw chicken in the post below. You have been warned!*

Way back when I first got married, I would have never in a million years, thought that I would one day roast a chicken. Ever. But here I am a professional chicken roaster. Yes, I have a badge. It may be made of construction paper and colored with a crayon and held on my shirt with tape, but no matter. When my sweet girl tells me that I make the best chicken ever, I take it. Now, if you ask her who makes the best pancakes...her daddy, hands down. She goes silent when asked if I make good pancakes. What?! I gave birth to you, I changed your diapers, and stayed up with you all hours of the night because you hated sleep!(and you hated for anyone else to sleep!) What the What??!!..Sigh..Anyway. Back to the chicken. It is so super duper easy to make a roasted chicken at home. Really, it is. You don't even have to have a roasting pan. (I've only had one for about 3 years.) You can use a deep pan and cover with foil. The ingredient list is easy. Are you ready? Here it is. 

1 whole chicken....make sure all the "insides" are out of the chicken. P.S. This kinda grosses me out. Not a lot of things gross me out, but this does. No biggey. I try to buy the chickens without gizzards and neck. I hope I didn't loose you. It really is easy. I promise.  
2-3 whole lemons
pepper or lemon pepper seasoning
salt
olive oil
butter 

You don't have to have the Handy Manny power tool or blow dryer(in the background) to get the job done. I promise. 


See? Easy ingredient list. Make sure your chicken is breast side up.  Now, tuck the wings behind his head....um, well where his head would have been. I take about 3 tablespoons of butter and tuck it between the skin and each chicken breast.(so 6 tablespoons total) The skin is loose, it's super easy. Then, you pour some olive oil all over the chicken. Rub it in. Cover the oiled up chicken in salt(to your tasting) and pepper(or lemon pepper seasoning). Don't be shy! Cut a lemon in half and squeeze that bad boy all over your chicken. Put the squeezed out lemon, in the empty cavity of the chicken. (I don't know if this adds flavor or not, but I think I've seen someone do it on the Food Network. Just go with it.) Cut 1-2 lemons in slices, depending on how big the chicken is. Now, lay the sliced lemons all over the chicken. Don't forget the legs!  Voila! You have a chicken ready to roast. Cover with a lid or foil. Put that lemon covered deliciousness into a 275 degree oven and forget about it. Low and slow is the way to go. *This is my family's motto in cooking....no seriously it is.*  How do I know when it's done? Just wiggle the little leg bone(with an oven mitt, of course) if it's loose or it almost falls off. It's done! I do like to crank up the heat the last 20- 30 minutes to about 425. Take the lid(or foil) off and let it get crispy on the outside. Keep an eye on it when you do that, you don't want that pretty chicken to be extra crispy! 

It took me no more than 7 minutes to make this chicken look like this. Super Easy for sure!

Not to shabby, aye? Remove the lemons and Enjoy!
This really is simple. Now, I'm a homemaker full time. I'm usually home most of the time so it's easy for me to make a "time consuming" meal during the week. But if you work outside the home, you can still do this on the weekend. Put it in on a Saturday after lunch. Or put it in the oven right before you leave for church on Sunday. It will be ready by the time you get home.{These times, are based on Pentecostal church times. Ha! I go to a Pentecostal church, I can so laugh at this! ;)} You could even put it in a crock pot and call it a day. So please, go to your local grocery store, buy a whole chicken, and roast that bad boy. Your family will love you forever. I promise. 

Until next time, enjoy the day and a chicken leg! Someone please pass the Bar B Q sauce!

Jessica

Monday, February 27, 2012

Homemade rolls, it's not as hard as you think....

Really, it's not. I promise. A little time consuming....OK, yes. But, if you're going to be home all day, not doing too much, then that's the perfect time to try these rolls. It takes about 2 and a half hours, from start to buttery, melt in your mouth and probably burn your mouth because, you can't wait,  they are so delicious rolls. (Run on sentence, anyone?!) So my point is, you CAN do this. Don't be scared. I know I use to freak out when I heard the words, homemade, YEAST, and bread all in the same sentence. It made me a little dizzy headed.  All you need is a little confidence and a whole lot of flour. So to begin with you need these ingredients:


  • 3/4 cup milk
  • 3/4 cup water
  • 1/2 cup white sugar
  • 1 teaspoon salt
  • 2 eggs
  • 5 teaspoons active dry yeast
  • 5 cups all-purpose flour(I told you, a whole lotta flour!)
  • 1/2 cup butter, melted(for all that is good in the world... please....please, do not use margarine. Butter is where it's at. You can walk an extra mile later, today use butter. Life is short.)


See not so bad, right? This is stuff that you normally have in your fridge and pantry anyway. What you do, is mix the first 4 ingredients together and warm them up over medium heat, not boiling, but warm. These are scientific terms, people. You should know them! 

This is right before I took it off the stove. You want a little steam, not a rolling boil!

While your milk mixture is warming up put 5 cups of flour in a big bowl and make a well in the middle. See, super easy. 


Now, remove your milk mixture and mix in the yeast and eggs. This is what it should look like. Are you still with me? Good! 

Now pour your liquid mix into your flour well. Now, here's the hard part, are you ready? Cover it. Phew...I almost broke a sweat! Leave it for 20-30 minutes.


When you come back 30 minutes later, this is what it will look like! Easy Peasy!


Now pour in your melted butter, not margarine! Then you stir  it until it starts coming together. Then get you hands in there and mix it until it looks about like: 


This! You're almost there! Now cover it for another 20-30 minutes. 


This is what you will have in 30 beautiful minutes. Your kitchen is going to be smelling so good , right about now!


Now spray some non stick spray, or if you don't have any like me, use a little butter to smear on a cookie sheet or two. Probably two.  Now start pulling small pieces of dough from your bowl and roll between your hands to get a basic ball shape. Put it on the pan and let it rise another 20-30 minutes. 


This. This is what you get after baking in a preheated oven of 400 degrees for 12-15 minutes. *Sigh* Your house is going to smell like a bakery. You're going to have spouses, kids, dogs, neighbors, family members of all sort knocking on your front door. Why? Because these babies are that good.

These are so light and fluffy on the inside. Nice and crisp on the outside. Really, you may need to walk an extra 2 miles after eating a couple of these. But, let me tell ya....It's so worth it. If you have a little butter and a little honey and you mix them up. Oh! Then you put them right in the middle of that hot, steamy yeast roll. OH. MY. YUM. You're going to want to slap your mama!*** Now, go make some of these today. If not today, then Saturday. Trust me! Your family will love you for it and ask about them all. The. Time.

Until our next warm buttery encounter,

Jessica 


*** Please, don't really slap your mama. That will result in the biggest mistake of your entire life! I totally, meant figuratively! This is only a saying, please don't get yourself killed. 

 If you would like to see the original recipe go Here. This is not my own recipe, except substituting the butter for the margarine. I only wish I would have came up with this awesome recipe! ;)

Happy Monday!

I have not fallen off the face of the earth...I promise. It has been a crazy couple of weeks. The whole family was sick and all at the same time. Not fun. But we are slowly, but surely, getting back to normal. I was so excited when I finally felt better to cook last week. It was so delicious. I made a homemade chicken pot pie one night, and fried pork chops the next. Oh. my. yum. This weekend, my husband and I went shopping and he bought me a casserole/lasagna dish and a new pie bird from......wait for it.......wait for it........ Le Creuset. *screaming like a little girl* Oh my goodness, it's so pretty and red! I love red! These are my first Le Creuset items. I hope it's the first of many items. :)
Eeck! I'm so excited! I'm making a lasagna today in it!


And here is my little red pie bird! I have a black one also with a yellow beak. They're so cute I think I need one in every color! ;)


I am also excited to announce I will be doing a guest post for a friend of mine on her blog later this week! So keep your eyes out for it! I am so ready for spring and summer. I am ready to plant some yummy veggies and even more ready to eat some fresh garden veggies from our very own garden. I'll be back later with a post about homemade rolls. I hope you have a very delicious Monday! 

Jessica


Sunday, February 5, 2012

Birthday Cakes, Part 2

Here's another post to catch you up on all the yummy memories from my cake decorating past. I hope you enjoy and even get an idea or two from it. If you do just link back to me in a blog or facebook post!

My Sweetie Pie's 3rd birthday party. This is Foofa from Yo Gabba Gabba. If you 're a parent of young children chances are  you have the unfortunate pleasure of knowing who Foofa is. If you don't count your blessings and be glad you don't know what this cartoon is.  ;)

I made this cake for my brother and sister in law when they where expecting their sweet little nugget, Eli.


This was for my Sweet Pea's 5th birthday. She is really big into Littlest Pet Shop creatures. I knew I wouldn't really be able to do an actual character that looked like these.(Not yet, anyway!) I found the "Birthday Pet" set at Wal-mart and added them on top of the cake, which featured her favorite colors.(at that moment!)

This was for my Mama's 50th birthday. This was really fun to make. The party was also a surprise, so it made it even more fun! ;) (I found the technique here. She has some really awesome cakes and icing ideas.)
My Sweetie Pie's 4th Birthday. She had a Tea Party...Party .  :) She had her dress picked out for a month.  She was so pleased with it that I got a, "Awe, it's perfect, Mommy!" 
I made this for my cousin's 18th birthday party.  He signed the contract to become a Marine! So , naturally, he needed an USMC cake. My husband being a former Marine, approved! ;)
My little man's 3rd birthday cake. (Can't believe he's 3 already!) He loves Phineas and Ferb. I was planning on  drawing the characters on the cake and then filling them in with icing. But the peach color I picked out, for their skin color, wasn't peach. Do you see the orange around the cake and with the writing? Yeah, that's what they said was peach! Dear Wilton, that's orange! I think it still turned out pretty good, I mean look at his face! ;)
I made this for my hubby. He requested a homemade coconut cake for his birthday. So ,of course, I had to make him one. This was the first coconut cake that I have ever made and it was really great, if I do say so myself!


So, that should get you caught up on all the cakes I've made. I'm sure there are some more but I'm not sure where the pictures are. I can't wait to show you my next recipe. Tell me do you like bread? If you do, check back this week and I'll have a really delightful post about nice, hot, bread. 

Have a delicious day!
Jessica

Birthday cakes, Part 1

I love to make my kids and family their birthday cakes. After paying out the wazoo for a few cakes, I decided...it can't be that hard, I'll make them myself. It was the best idea. Ever. I started 3 years ago and I'm never looking back! I find most of my ideas from the Internet and then put my own twist on them. Here are most of the ones that I've made. Enjoy!

This is my son's 1st Birthday party. My first birthday cake!

I just had to add this one because he was so little and he dug right in his cake! P.S. Yellow and black icing isn't a great idea for a smash cake. It turns into a very nasty color. One that looks like it came from the other end. Ok. Moving on. ;)
This was my Sweetie Pie's(daughter #2) second birthday cake. 
This is my Sweet Pea's(oldest daughter) 4th birthday cake. She loves horses!
This was my son's 2nd birthday  cake. 

Here's the first part of my cakes. I'm by no means an expert decorator, but my kids fall head over heels in love with a cake made by mommy, just for them. That makes me happy! 

I hope you have a deliciously wonderful day!
Jessica

Monday, January 30, 2012

Orange Smoothie...

aka My taste buds love me! I found this recipe on Pinterest a few weeks ago. Let me tell ya, it was so yummy. In the original post over at Love Veggies and Yoga she called it an Orange Push Up Smoothie. In my opinion, it kind of taste like an Orange Push Up. It has a hint of a Push Up Popsicle but really it has a flavor all it's own. I tried this on a Sunday night, when my two little ones where zonked out from a day of full exhaustion. I mean, they were tired! One was asleep at 6:05pm and the other asleep at 6:20pm. They never go to sleep until at least 8:00. Anyway, I was a little bored, since 2/5 of the family was asleep. My Sweet Pea was willing to try it because I called it an Orange Smoothie thing. She loves oranges and loves smoothies. She was in and of course my partner in cooking was up for anything sweet(aka..my hubby!). Here is the recipe:


Orange Push-Up Smoothie (Vegan, Gluten Free)
1 can orange juice concentrate, slightly thawed
1 cup milk (half and half, cream, nut milk, soy milk)
1/2 cup sugar, or to taste (you can reduce the sugar or use an alternate sugar substitute such as stevia but it won’t taste as close to classic Orange Push-Ups)
1/2 teaspoon vanilla extract
2 cups ice, or to taste
Combine all ingredients, except ice, in a large blender or Vita-Mix and blend until smooth and creamy, taking care the sugar has dissolved and is well incorporated.  If desired, add a splash more water or more milk.  Add the ice and blend until smooth.
(I apparently didn't follow the recipe exactly because the sugar was very grainy. I was thinking next time, I will just cook the sugar and orange juice concentrate on low heat until the sugar is incorporated and allow it to chill back down in the fridge. I'm not sure how it will turn out when I do it this way, but that's the fun part...experimenting! Right? Right!)
5 easy ingredients! Easy peasy  lemon orange squeezy 
The finished product! It made exactly 4 8oz Mason Jars full!


 So the end result: It was a success! It's a very nice dessert to have every once in a while. My Sweet Pea, loved it! She woke up the next day asking me to make her another one. Like I said, very unique, something I wouldn't mind making again in the future. You should try it! Let me know if you do or if you have any suggestions about the recipe. I'd love to hear them!

Until next time,
May you have full hearts and full bellies!
Jessica


This recipe is not my own. I just found it on the awesome website Pinterest. I just borrowed the recipe from Love Veggies and Yoga. Because lets face it: I only love some veggies and I laugh at yoga, because I can't stop falling over and laughing about it! :) The pictures however, are my own, taken by the not so professional but I love it anyway, me! Have a nice day!